F5 ML-KEM Lab on AWS
F5 Networks added post-quantum support in TMOS 17.5.1, making BIG-IP one of the
first enterprise ADCs to ship ML-KEM (FIPS 203) as a configurable DH group.
This lab puts that support to the test. I spin up two BIG-IP instances from AWS
Marketplace, one running 17.1.3.1 and one on 17.5.1, and show exactly what
happens when you try to enable ML-KEM on each. The older version rejects the
config outright. The newer one negotiates X25519MLKEM768 and you
can verify it with openssl s_client.
X25519MLKEM768 as a valid DH group.
See Part 2 for the live error on 17.1.3.1.
What This Lab Sets Up
A single BIG-IP VE instance in AWS with two virtual servers on the same public IP, on different ports:
Port 9443 - No ML-KEM
Standard TLS 1.3 with classical ECDH key exchange. This is the baseline - what most F5 deployments look like today without any PQC configuration.
Port 443 - With ML-KEM
TLS 1.3 with X25519MLKEM768 DH group enabled. A compatible
client will negotiate X25519MLKEM768 as the key exchange group.
Both VIPs point to the same backend pool. The only difference is the Client SSL profile
attached to each. You can run identical openssl s_client commands against
both ports and observe the negotiated key exchange group change.
Prerequisites
| Requirement | Detail |
|---|---|
| AWS account | With permission to subscribe to Marketplace products and launch EC2 instances |
| EC2 key pair | Create one in the target region before launching - you'll need it for initial SSH access |
| VPC with public subnet | Internet gateway attached. The BIG-IP management port needs outbound internet for licensing. |
| OpenSSL 3.5+ | Required on your test machine to negotiate ML-KEM. See OpenSSL Setup. |
| Cost estimate | m5.xlarge GOOD PAYG ≈ $0.40–$0.60/hr. Terminate the instance when done. |
Launch F5 BIG-IP via AWS Marketplace
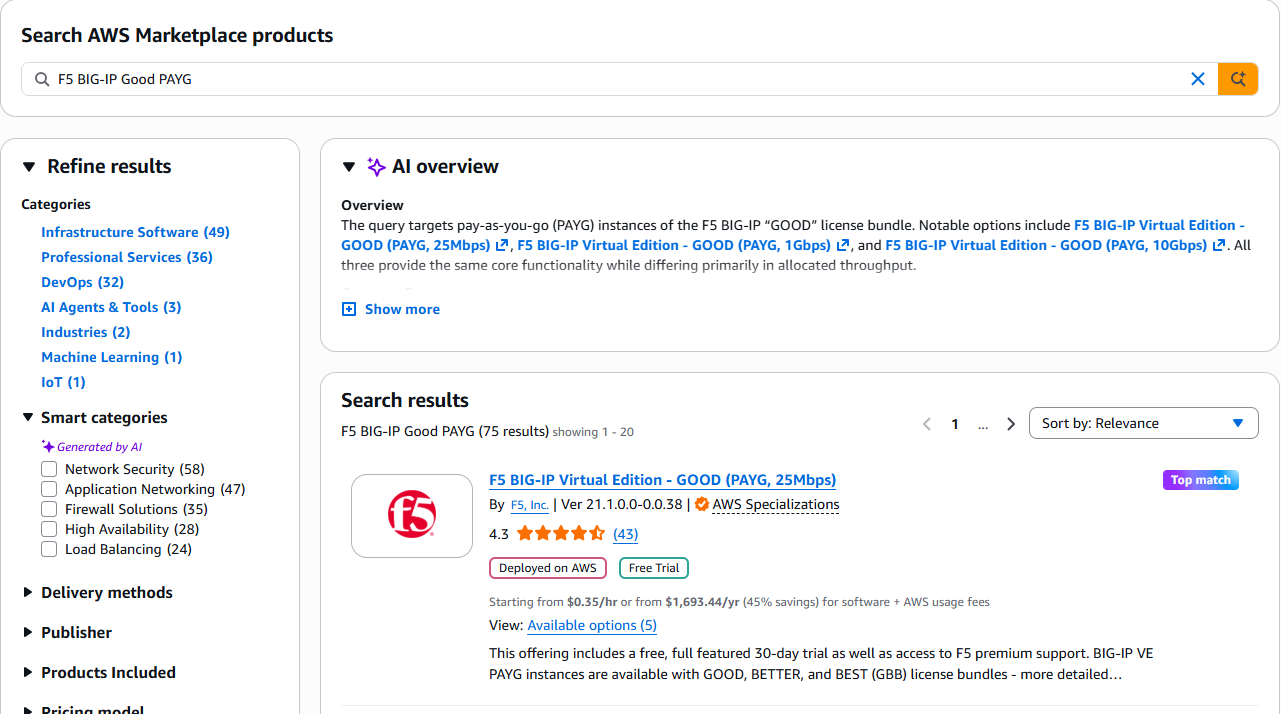
F5 BIG-IP Good PAYG. The top match will be
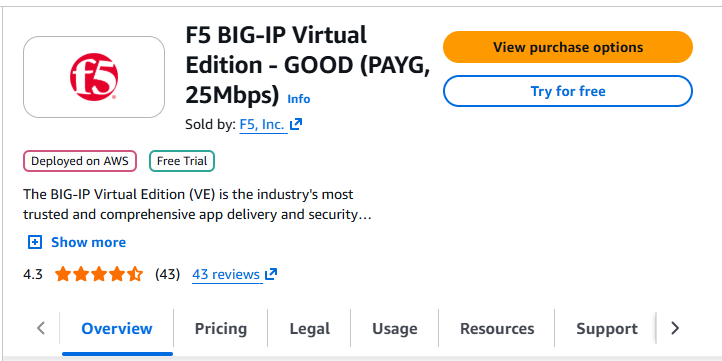
"F5 BIG-IP Virtual Edition - GOOD (PAYG, 25Mbps)" - click it.
GOOD includes full LTM SSL offloading and cipher group support. No separate license file required.
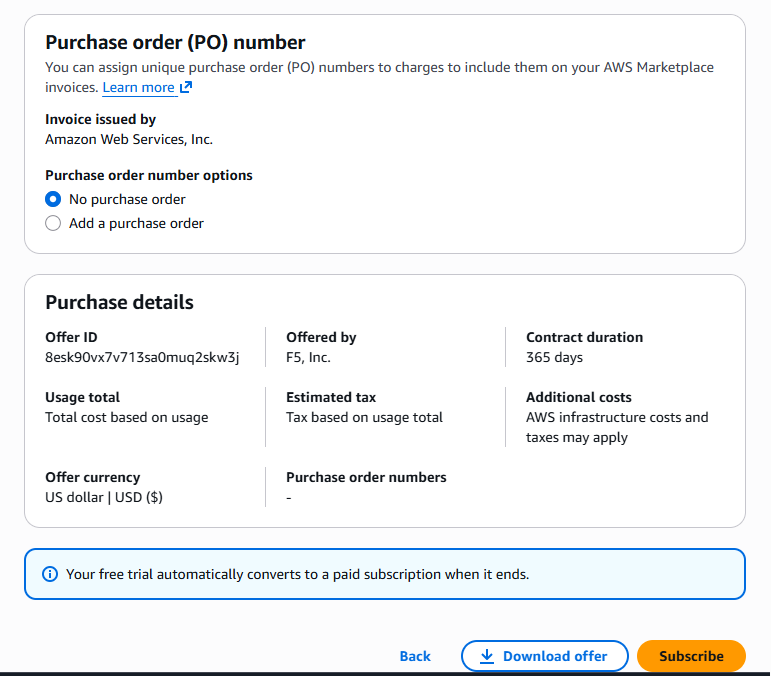
Review the purchase details and click Subscribe. This is a usage-based agreement - you are only charged while instances are running, billed hourly at the combined EC2 + software rate.
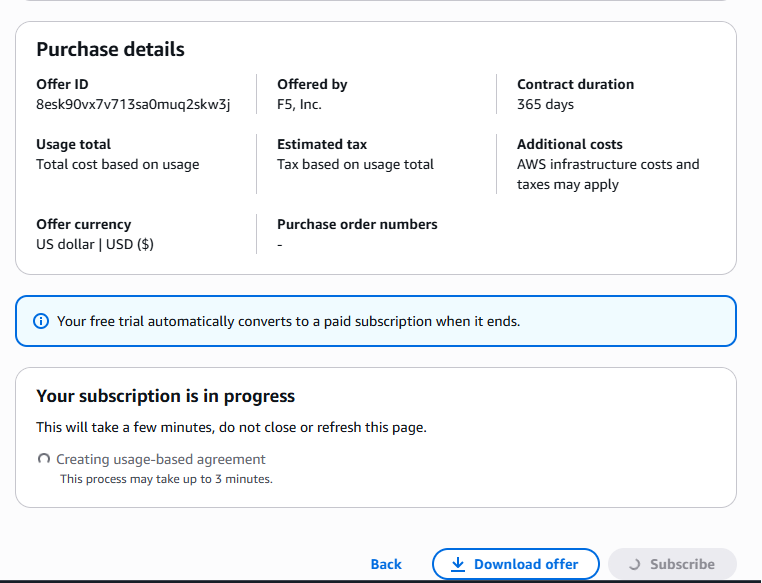
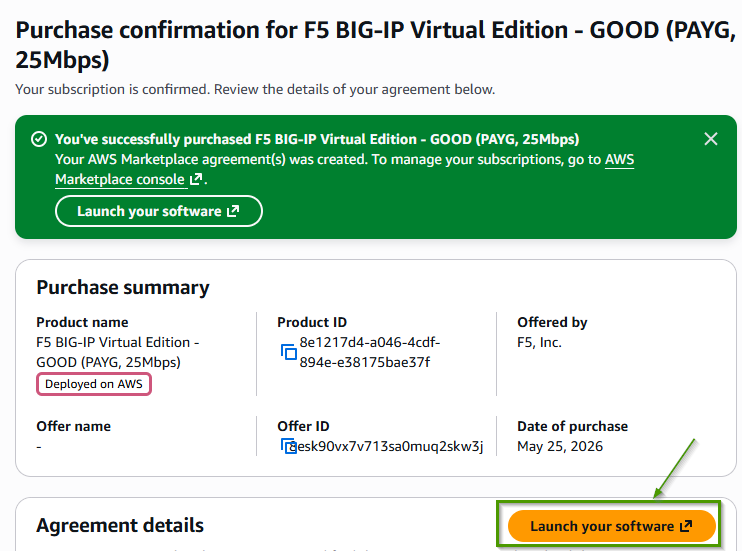
The subscription activates in up to 3 minutes - do not close the page:
Once confirmed, click Launch your software:
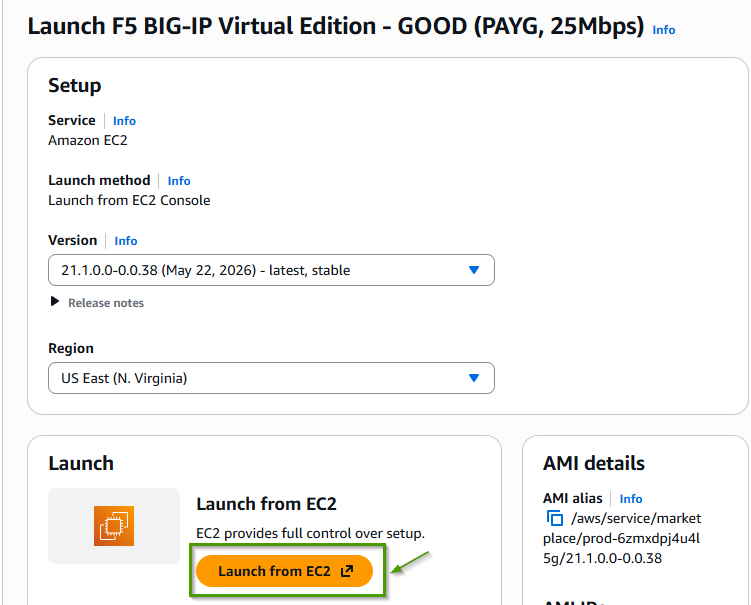
- Version - change to 17.5.1. The page defaults to the latest stable release (21.x at time of writing) but this lab is verified on 17.5.1 which introduced ML-KEM support.
- Region - select your preferred region.
- Launch method - select Launch from EC2 for full control over instance type, networking, and security groups.
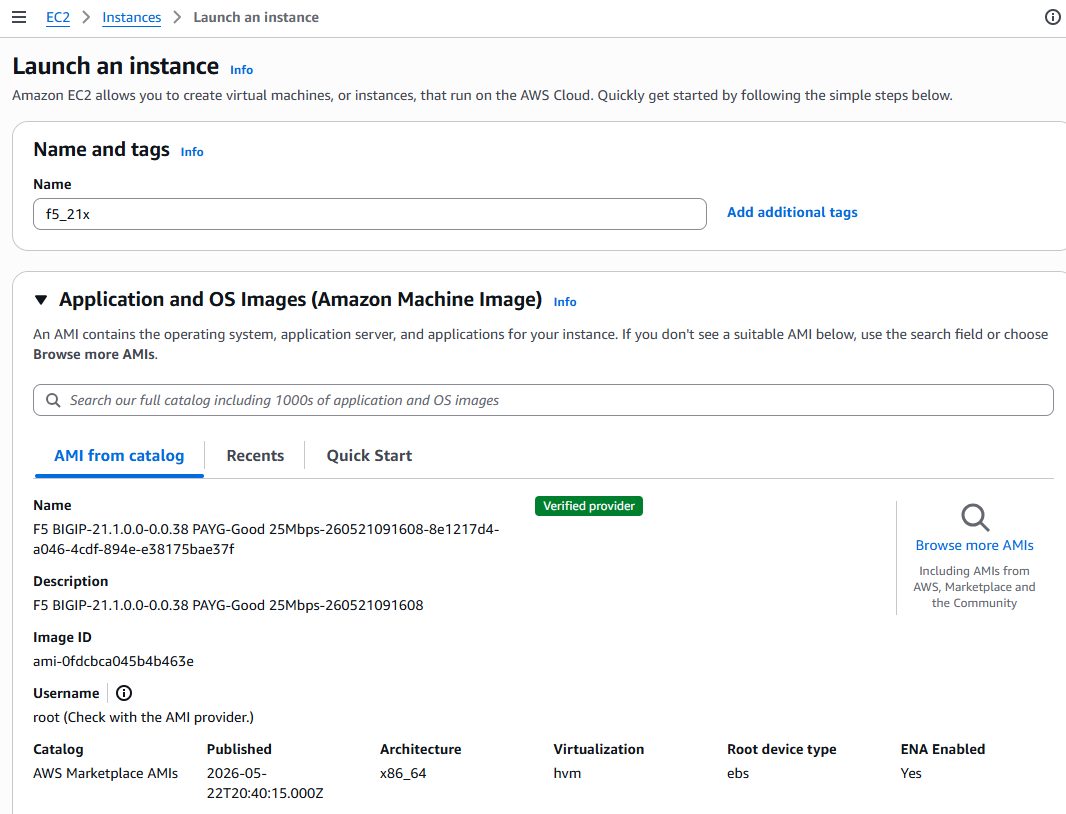
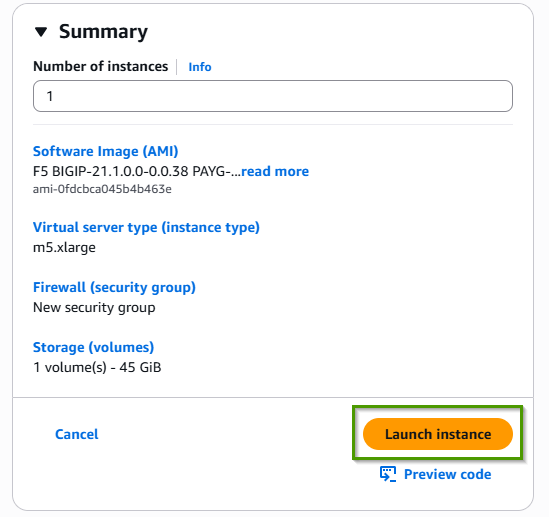
f5-mlkem-lab).
Confirm the AMI description matches the version you selected.
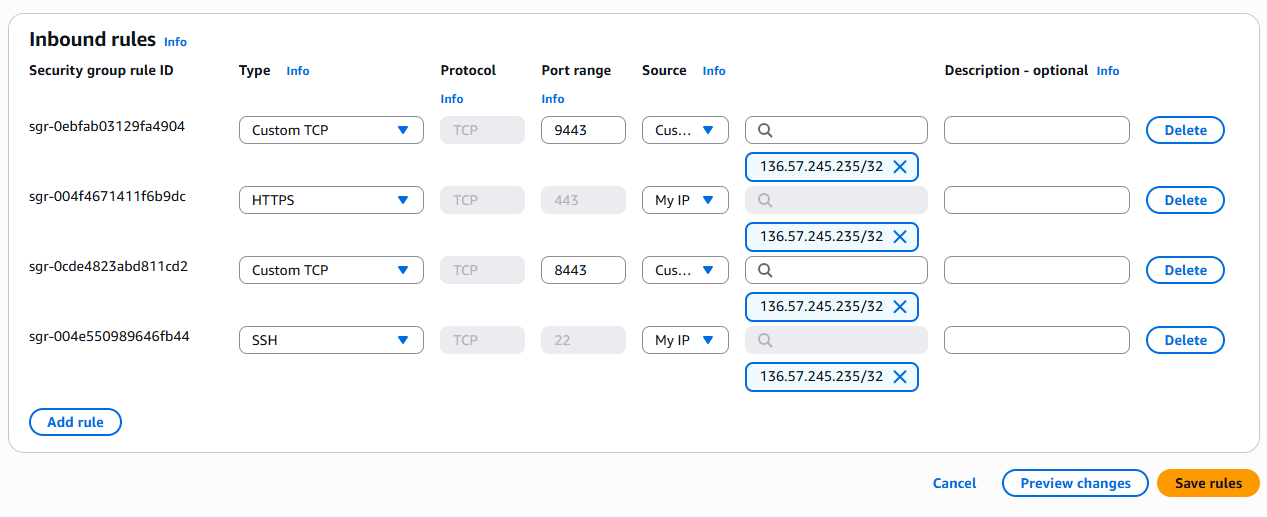
TCP 22     -  SSH (initial access)         source: My IP
TCP 443    -  VIP with ML-KEM              source: My IP
TCP 8443   -  BIG-IP management UI        source: My IP
TCP 9443   -  VIP without ML-KEM          source: My IP
A success banner confirms the launch. Click the instance ID link to go directly to it in EC2 Instances:
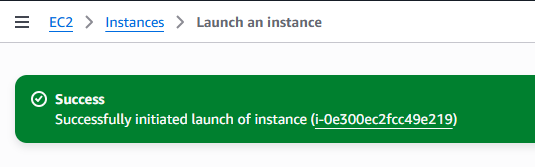
The instance takes 3–5 minutes to pass both EC2 status checks and complete BIG-IP's internal initialisation. Wait until both checks show passed before proceeding.
Initial Configuration
Once the instance is running, retrieve its public IP from the EC2 console.
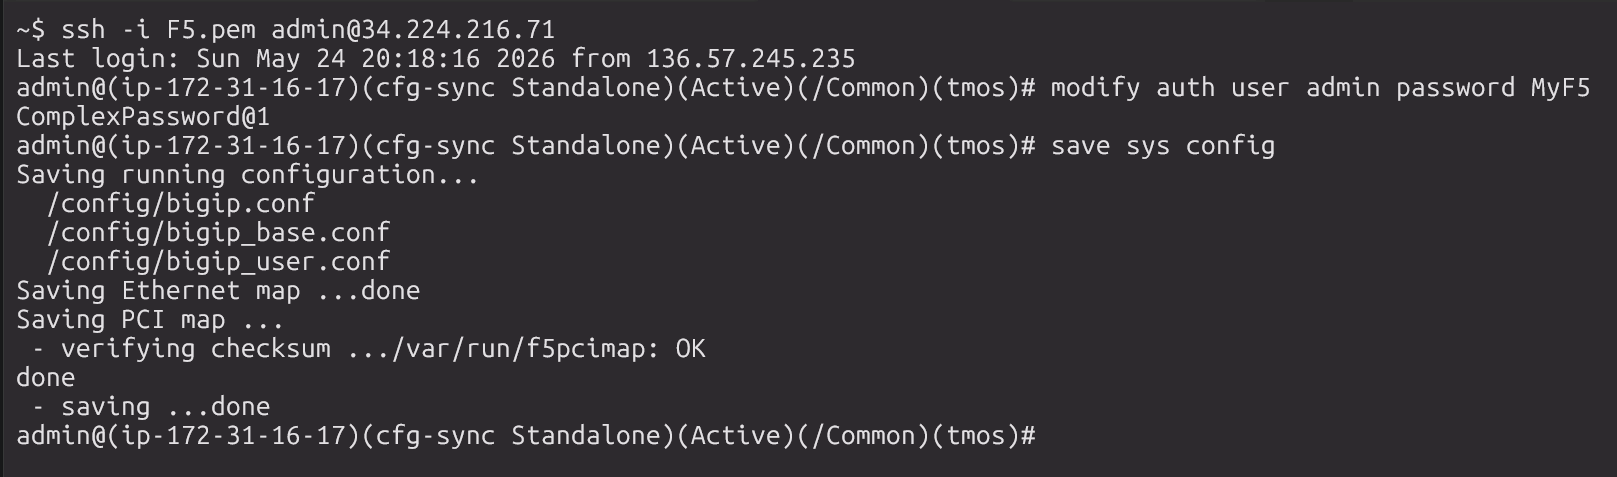
ssh -i F5.pem admin@<PUBLIC-IP>
The first connection will ask you to confirm the host fingerprint - type yes.
You land directly at the tmsh prompt:

Change the password and save:
modify auth user admin password <NEW-PASSWORD>
save sys config
# Linux / WSL (Ubuntu)
chmod 400 F5.pem

# Windows PowerShell (native SSH)
icacls F5.pem /inheritance:r /grant:r "$($env:USERNAME):(R)"
https://<PUBLIC-IP>:8443 in your browser.
Accept the self-signed cert warning. Log in as admin with
the password you just set. The Setup Wizard will appear - you can
skip it for this lab.
show sys versionLook for the
Version line in the output. Confirm it shows
17.5.1 or later before continuing.
clientssl parent profile. No manual cert creation required -
the lab is testing key exchange groups, not certificate validation.
192.0.2.1, an RFC 5737 reserved address
that F5 accepts but that routes nowhere:
create ltm pool lab-pool { members add { 192.0.2.1:443 { address 192.0.2.1 } } }
 No monitor is set intentionally - without one F5 marks the member
unchecked and still forwards, so the VIP stays green.
No monitor is set intentionally - without one F5 marks the member
unchecked and still forwards, so the VIP stays green.
This section demonstrates what happens when you attempt ML-KEM configuration on a BIG-IP running 17.1.3.1. The goal is to make the version requirement tangible: not just a documentation note, but a live tmsh validation failure that tells you exactly why the version matters.
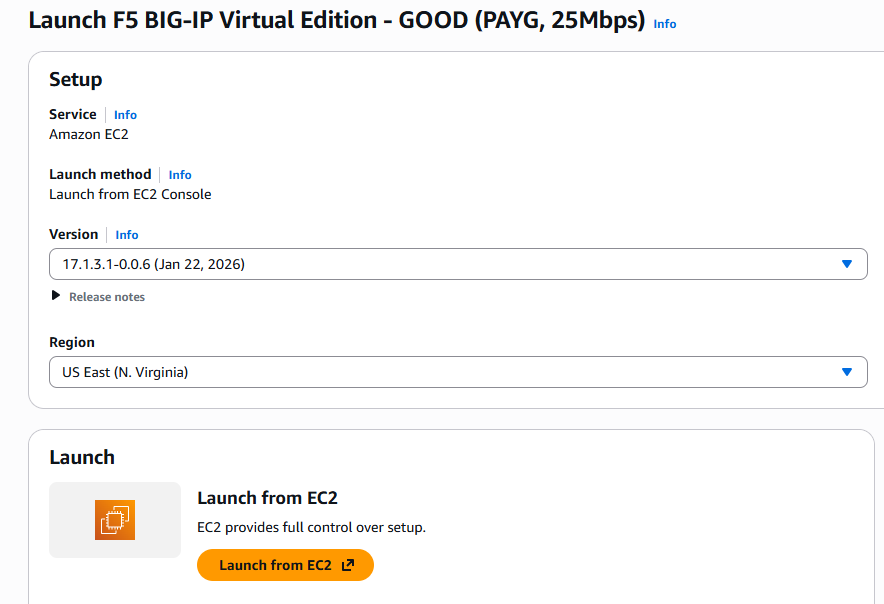
Launched from the same AWS Marketplace listing - the only difference is the
Version dropdown is set to 17.1.3.1-0.0.6 instead of 17.5.1.
17.1.3.1-0.0.6 (Jan 22, 2026). Everything else - instance type,
security group, key pair - is identical to the Part 1 setup.
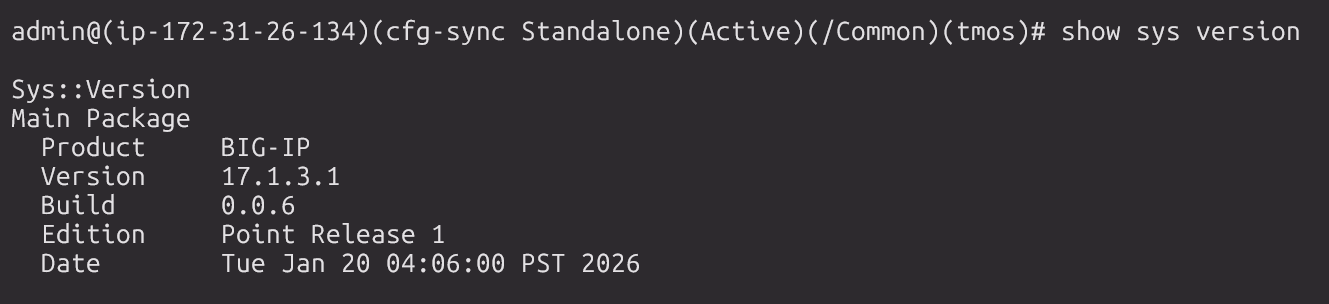
show sys version
Confirm Version 17.1.3.1 before proceeding.
create ltm cipher rule ml-kem-rule { cipher DEFAULT dh-groups "X25519MLKEM768:DEFAULT" signature-algorithms DEFAULT }
tmsh rejects it immediately - no object is created:
01071d2a:3: Cipher rule (/Common/ml-kem-rule): 'X25519MLKEM768' is not a valid DH Groups.

VIP without ML-KEM (Port 9443 - Baseline)
This is a standard TLS 1.3 virtual server with classical key exchange. It represents the current default state of most F5 deployments.
clientssl profile has no-tlsv1.3 in its
options on TMOS 17.5.1 - TLS 1.3 is disabled by default and must be explicitly
enabled. BIG-IP also requires a cipher group whenever TLS 1.3 is active.
The classical rule uses dh-groups DEFAULT which includes the
standard ECDH groups (P-256, X25519) but intentionally excludes
X25519MLKEM768 - that omission is what makes this the "before" state:
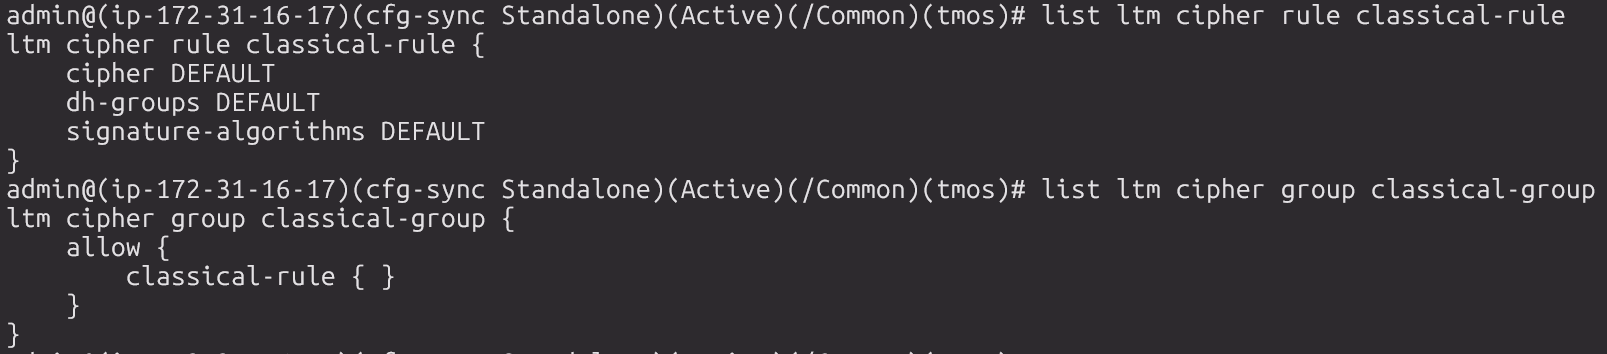
create ltm cipher rule classical-rule { cipher DEFAULT dh-groups DEFAULT signature-algorithms DEFAULT }
create ltm cipher group classical-group { allow add { classical-rule } }
Verify:
list ltm cipher rule classical-rule
list ltm cipher group classical-group
Expected output:
ltm cipher rule classical-rule {
    cipher DEFAULT
    dh-groups DEFAULT
    signature-algorithms DEFAULT
}
ltm cipher group classical-group {
    allow {
        classical-rule { }
    }
}
no-tlsv1.3 option by specifying the options
list explicitly (without it). Attach the cipher group and set
ciphers none - a profile cannot have both a ciphers string and a
cipher group:
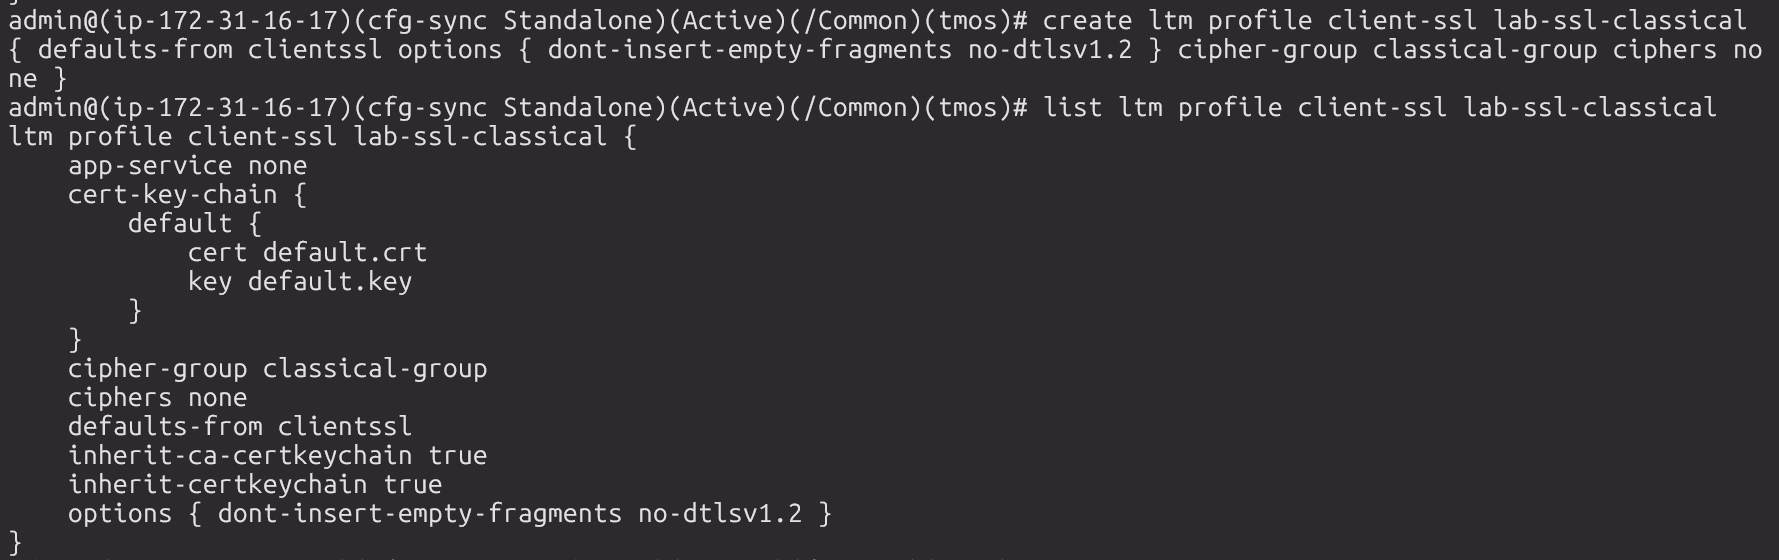
create ltm profile client-ssl lab-ssl-classical { defaults-from clientssl options { dont-insert-empty-fragments no-dtlsv1.2 } cipher-group classical-group ciphers none }
Verify:
list ltm profile client-ssl lab-ssl-classical
Expected output (key fields):
ltm profile client-ssl lab-ssl-classical {
    cipher-group classical-group
    ciphers none
    defaults-from clientssl
    options { dont-insert-empty-fragments no-dtlsv1.2 }
}
vlans-disabled (not vlans-enabled) - in single-NIC
mode, vlans-enabled without a VLAN list causes the VIP to receive
no traffic:
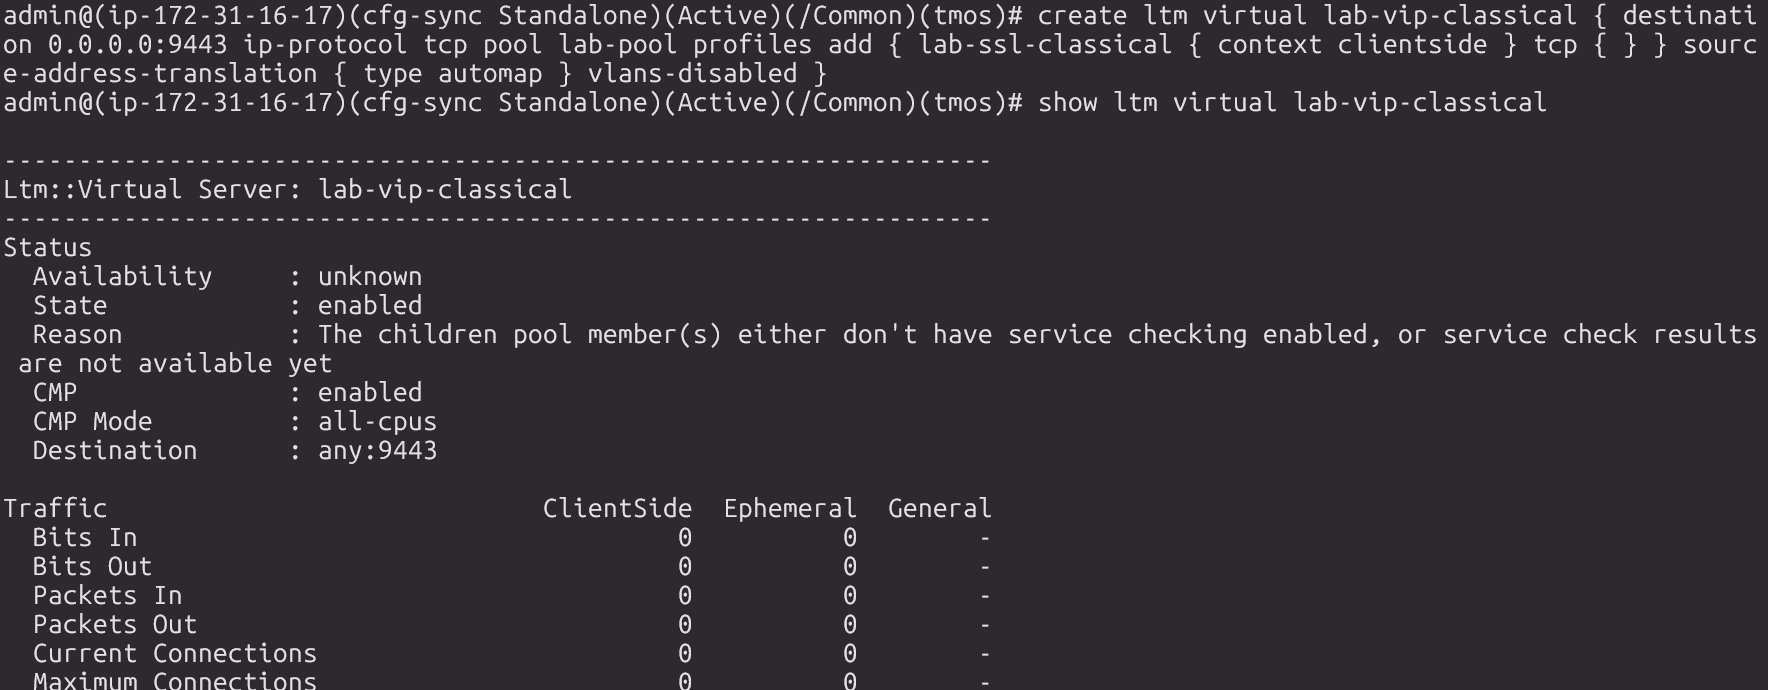
create ltm virtual lab-vip-classical { destination 0.0.0.0:9443 ip-protocol tcp pool lab-pool profiles add { lab-ssl-classical { context clientside } tcp { } } source-address-translation { type automap } vlans-disabled }
Verify:
show ltm virtual lab-vip-classical
Look for State: enabled and Destination: any:9443. Traffic counters will be zero until you run the first test.
save sys configYou can test the classical VIP now (see Testing) before proceeding to the ML-KEM setup.
VIP with ML-KEM (Port 443)
This virtual server uses a Client SSL profile backed by a custom cipher group
that includes X25519MLKEM768 as a preferred DH group. ML-KEM
only negotiates over TLS 1.3 via the key_share extension - the
classical fallback remains available for clients that don't support it.
dh-groups property controls key exchange. Setting
X25519MLKEM768:DEFAULT advertises the hybrid ML-KEM group first,
with all standard groups as fallback. The cipher and
signature-algorithms properties use DEFAULT to
inherit the platform defaults - no custom cipher strings needed:
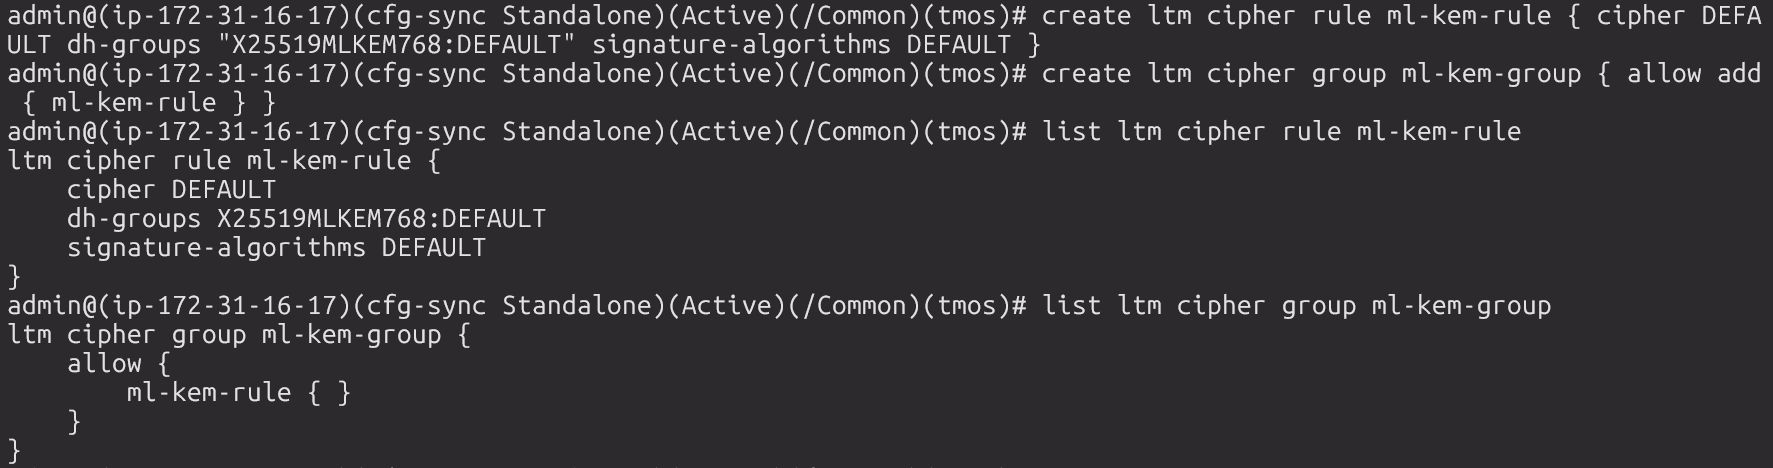
create ltm cipher rule ml-kem-rule { cipher DEFAULT dh-groups "X25519MLKEM768:DEFAULT" signature-algorithms DEFAULT }
create ltm cipher group ml-kem-group { allow add { ml-kem-rule } }
Verify:
list ltm cipher rule ml-kem-rule
list ltm cipher group ml-kem-group
Expected output:
ltm cipher rule ml-kem-rule {
    cipher DEFAULT
    dh-groups "X25519MLKEM768:DEFAULT"
    signature-algorithms DEFAULT
}
ltm cipher group ml-kem-group {
    allow {
        ml-kem-rule { }
    }
}
no-tlsv1.3 so TLS 1.3 is active. Attach the ML-KEM cipher group
and set ciphers none:
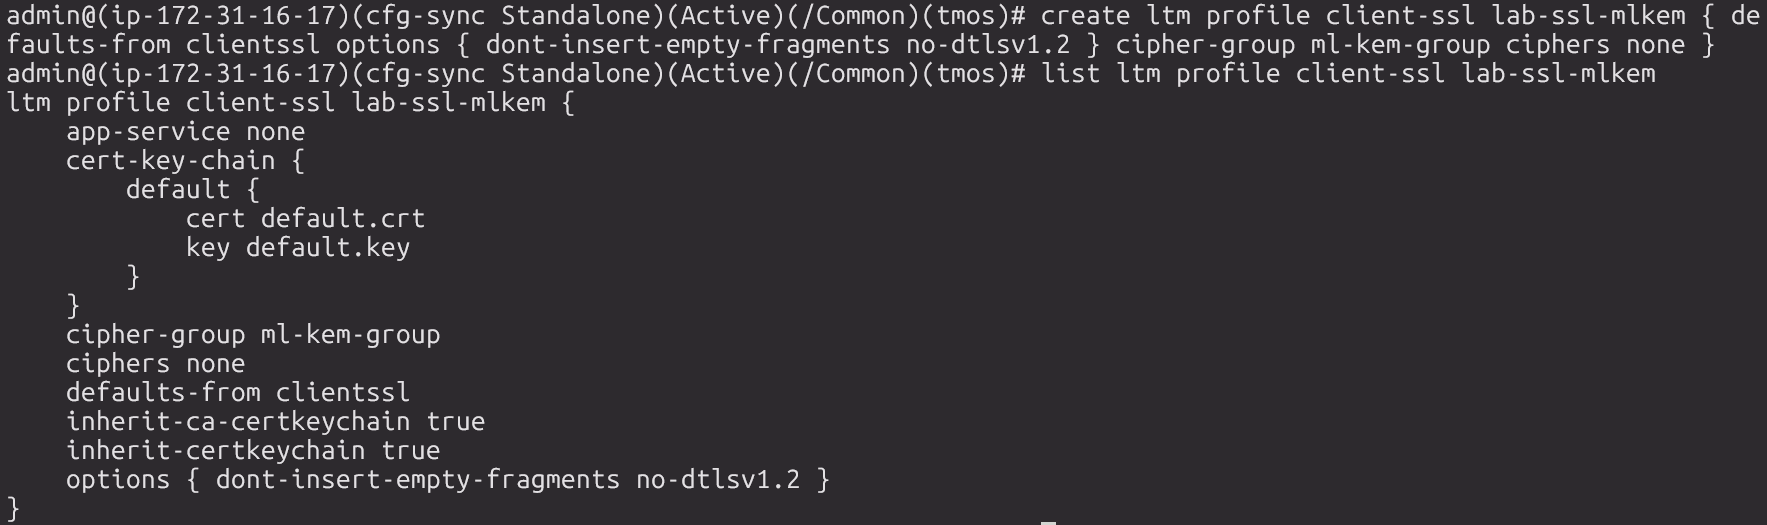
create ltm profile client-ssl lab-ssl-mlkem { defaults-from clientssl options { dont-insert-empty-fragments no-dtlsv1.2 } cipher-group ml-kem-group ciphers none }
Verify:
list ltm profile client-ssl lab-ssl-mlkem
Expected output (key fields):
ltm profile client-ssl lab-ssl-mlkem {
    cipher-group ml-kem-group
    ciphers none
    defaults-from clientssl
    options { dont-insert-empty-fragments no-dtlsv1.2 }
}
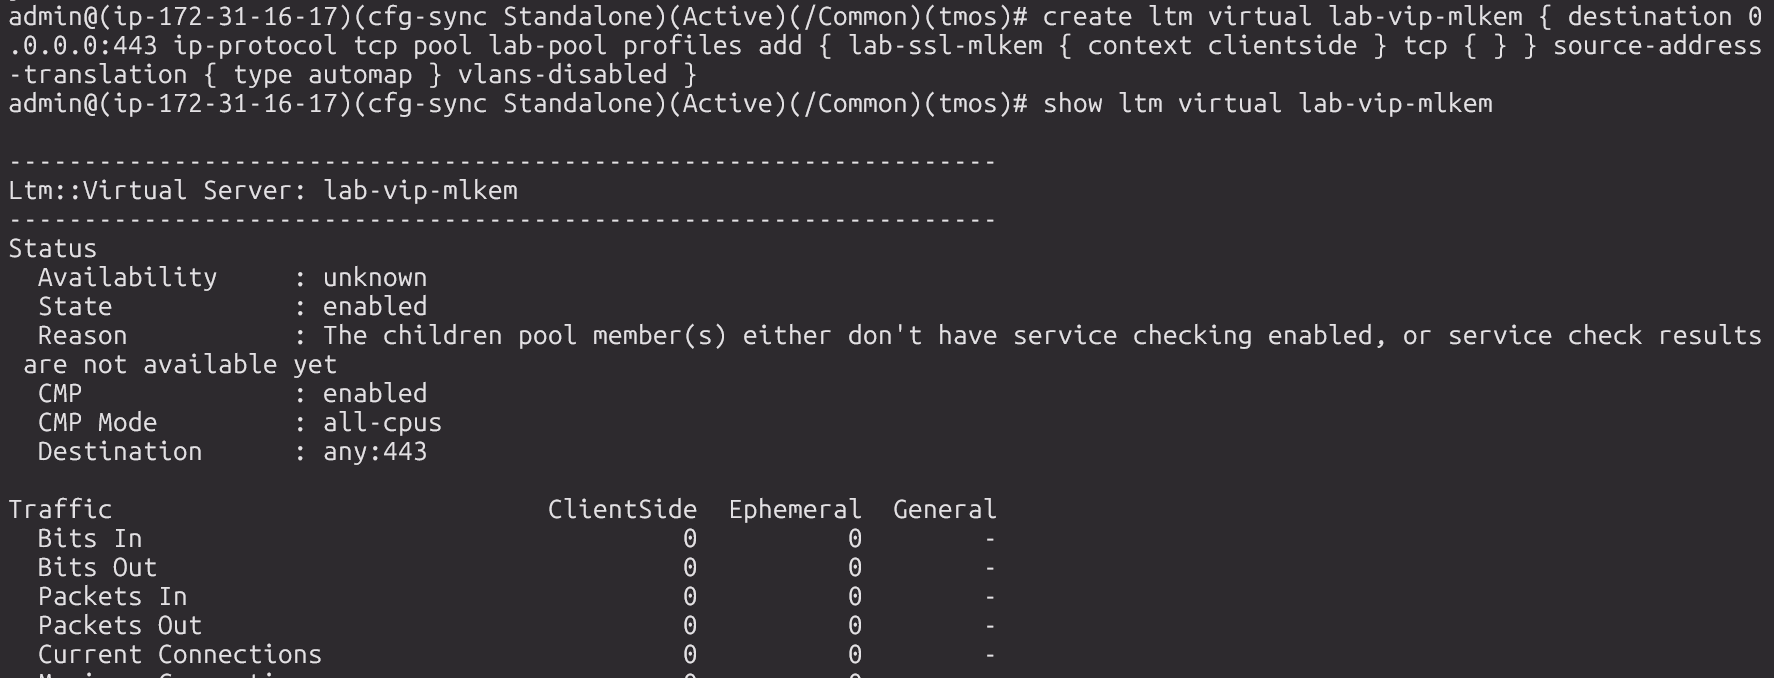
create ltm virtual lab-vip-mlkem { destination 0.0.0.0:443 ip-protocol tcp pool lab-pool profiles add { lab-ssl-mlkem { context clientside } tcp { } } source-address-translation { type automap } vlans-disabled }
Verify:
show ltm virtual lab-vip-mlkem
Look for State: enabled and Destination: any:443.
save sys config
Testing the Difference
You need OpenSSL 3.5+ on your test machine. See OpenSSL Setup if you haven't built it yet. Run both commands against the same public IP.
openssl on most Linux distros is
3.0.x and does not support ML-KEM. Use the custom-built binary - referenced here as
openssl35 - from the OpenSSL Setup guide.
</dev/null to get clean output.
Without it, openssl s_client waits for stdin and the session
summary (including the negotiated group) is not printed until you close the
connection. </dev/null closes stdin immediately so the full
output is flushed on exit.
Test port 9443 - classical (no ML-KEM)
openssl35 s_client -connect <PUBLIC-IP>:9443 -tls1_3 -groups X25519MLKEM768:X25519:P-256 </dev/null 2>&1 | grep -E "Protocol|Temp Key|group|Cipher is"
Expected output - TLS 1.3 negotiated, server selected a classical ECDH group (P-256). The client offered ML-KEM but the server's cipher rule has no PQC DH group, so it fell back to classical:
Peer Temp Key: ECDH, prime256v1, 256 bits
New, TLSv1.3, Cipher is TLS_AES_128_GCM_SHA256
Protocol: TLSv1.3

Test port 443 - with ML-KEM
openssl35 s_client -connect <PUBLIC-IP>:443 -tls1_3 -groups X25519MLKEM768:X25519:P-256 </dev/null 2>&1 | grep -E "Protocol|Temp Key|group|Cipher is"
Expected output - both sides support ML-KEM, so it is negotiated:
Negotiated TLS1.3 group: X25519MLKEM768
New, TLSv1.3, Cipher is TLS_AES_128_GCM_SHA256
Protocol: TLSv1.3

Negotiated TLS1.3 group: X25519MLKEM768 on port 443 vs
Peer Temp Key: ECDH, prime256v1 on port 9443. Same client, same server IP,
same TLS version and cipher suite - the only difference is whether the Client SSL
profile's cipher rule includes X25519MLKEM768 in its
dh-groups. That single property is the entire configuration delta between
a classically vulnerable TLS session and a post-quantum protected one.
Teardown
The instance costs money while running. When you're done testing, terminate it from the EC2 console. There is no persistent storage to worry about - all BIG-IP configuration lives on the instance root volume which is deleted on termination.
# Confirm both VIPs are tested, then terminate via AWS Console:
# EC2 → Instances → select instance → Instance State → Terminate